November 2016 Favorites


Since the month is coming to an end, I thought I’d share some of my November favorites!

1. Brush Egg

img_0806

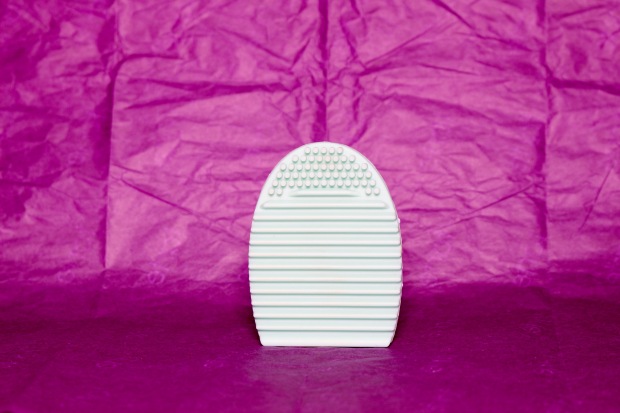
If you don’t already have a brush cleaner then you need to get this one! I got the Brush Egg for about $2 and using it cut the washing time in half. It also saved my hands from becoming dry and flaky. The Brush Egg gets the job done and its large enough for bigger makeup brushes.

2. Beauty Blender

img_0808

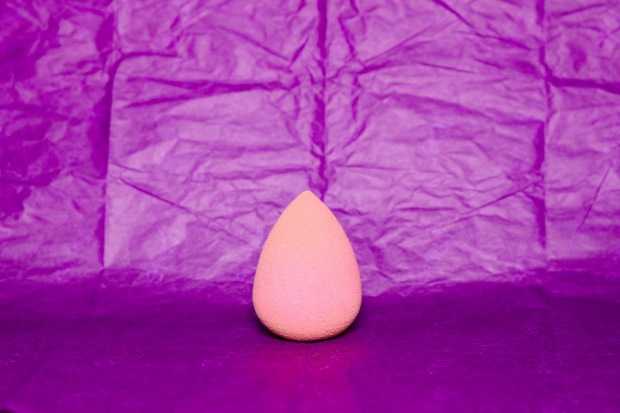
This is one of my favorite things to use to apply foundation and concealer. Instead of dragging the blender across your face, bouncing it on the skin easily blends and buffs the foundation out. The tip of the Beauty Blender is great to use under the eyes and around the nose. I find that my skin always looks flawless every time I use it.

3. EcoTools Eyeshadow Blending Brush

img_0814

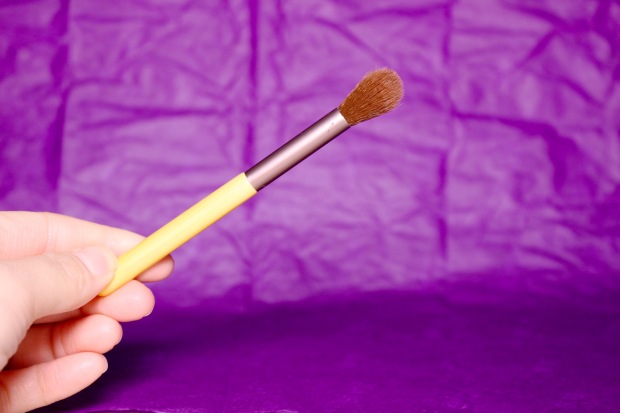
I had this brush for years now and it’s still one of my favorite eyeshadow brushes in my collection. I love that it’s cruelty free and made from recycled materials and bamboo. The quality of this brush is like that of professional high end brushes for a fraction of the price. It does an excellent job in blending out crease and transition colors.

4. Victoria’s Secret Noir Tease Travel Body Mist

img_0809

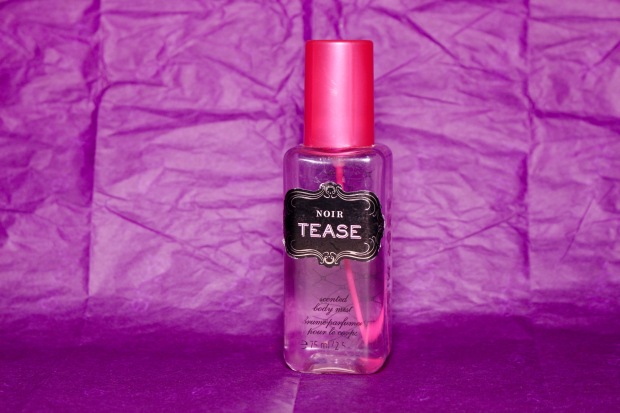
This is my go-to scent because I feel like it’s perfect year round. I always go for warm scents with a hint of sweetness and this body mist is just that. It smells like vanilla mixed with a bit of floral tones and fruitiness. I prefer body mists over perfumes because its easier to lug around and its not as overwhelming as most perfumes. A little goes a long way with this body mist!

5. Maybelline Eye Studio Lasting Drama Gel Liner in Brown

img_0817

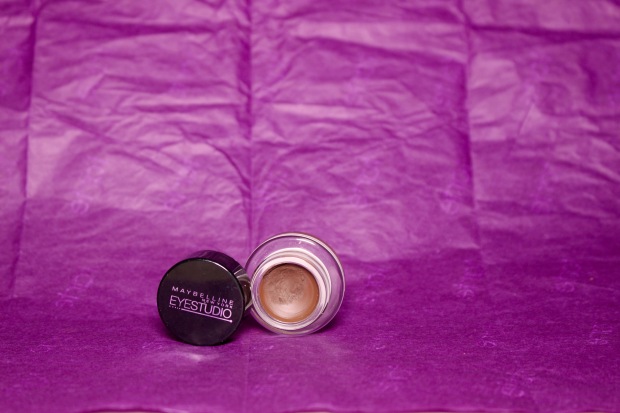
I’ve tried both the regular formula and the waterproof formula. They are both long lasting but I would suggest getting the waterproof formula because it lasts a lot longer. Both of the formulas are creamy and easy to apply. This is the only eyeliner that I’ve worn for the past three years because the whole jar lasts forever and its so cheap!

6. Color Pop Ultra Matte Lip

img_0805

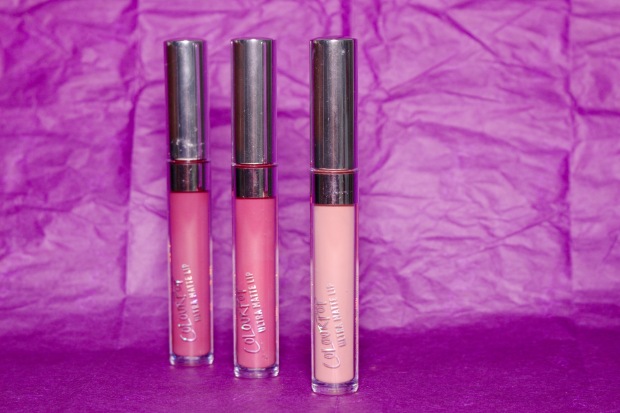
This was my first time buying Colour Pop products and I must say, these Ultra Matte Lips exceeded my expectations. The formula is creamy and extremely pigmented. It glides on smoothly and stays on for hours. I was really impressed by how fast it dried after application because most matte lipsticks that I’ve tried take FOREVER to dry. The best thing about this is that it’s so affordable. Six dollars each? That’s a steal!

From left to right: Are N Be, Viper, Trap

7. Tartelette in Bloom Clay Eyeshadow Palette

img_0791

img_0781

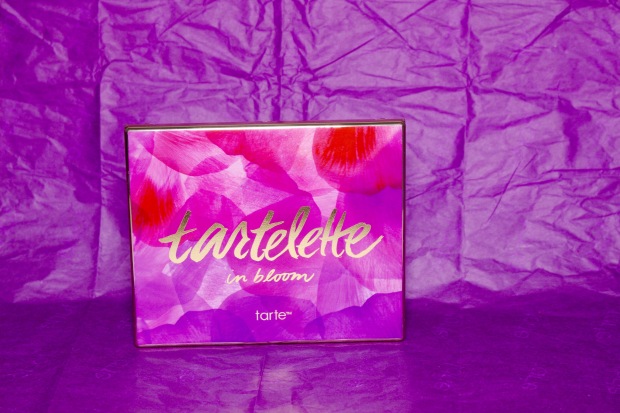
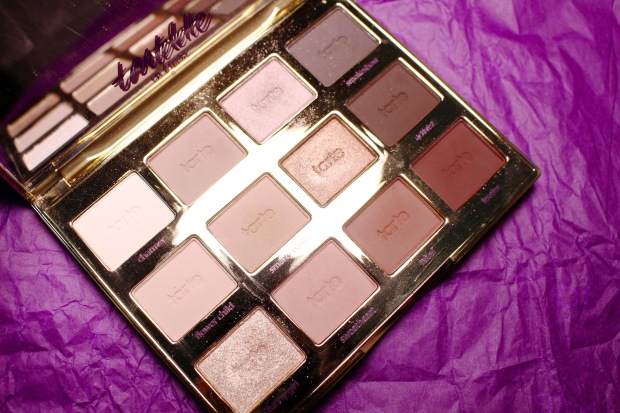
This is the first high end palette that I splurged on and I am so glad that I did! The eyeshadows are very pigmented and creamy and they blend so easily on the lids. It has perfect colors for natural and every day looks. You can even achieve a natural smokey eye with this palette!

8. Yves Saint Laurent Fusion Ink Foundation

img_0798

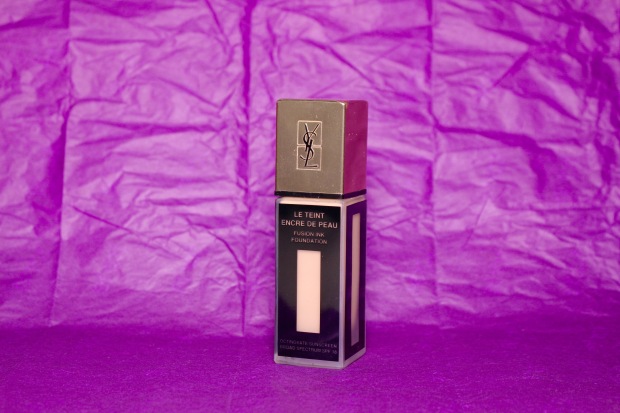
Before buying the Fusion Ink Foundation, I tried one of those packet samples that my sister gave me and I fell in love instantly. This high-coverage foundation feels very smooth and light on the skin. It leaves a soft matte finish that lasts throughout the day and I find that it applies flawlessly after my skin is exfoliated.

9. L’Oréal Voluminous False Fiber Lashes Mascara

img_0803

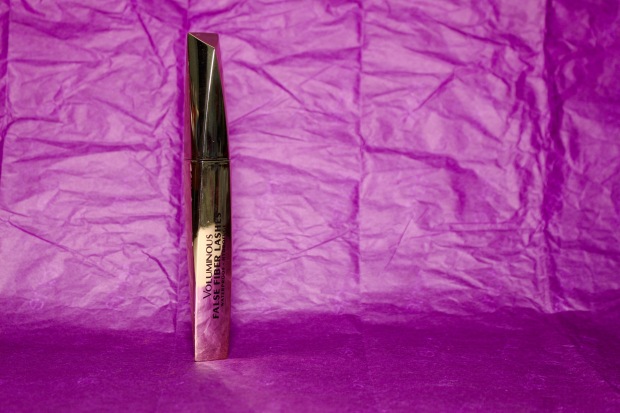
I think L’Oréal makes some of the best mascaras. The waterproof Voluminous False Fiber mascara coats every single one of my thin eyelashes without leaving a clumpy mess behind. It holds my curled lashes in place and I love that I can immediately tell how much longer it made my lashes. This mascara has a medium to dry formula and you can see the little fibers on the wand that help elongate the lashes.

10. Physician’s Formula Mineral Glow Pearls

img_0810

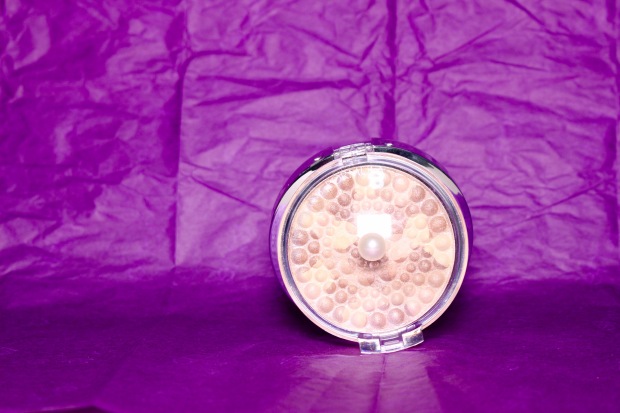
This highlighter is perfect for brightening your look. The pigments are very fine and it leaves a very natural glow to the skin. I love using this for my everyday makeup and I even use this alone when I want to look natural and glowy.

I hope you try some of these products out!

What are your November favorites?

Grow and Maintain Long and Split-End Free Hair

The longest that I’ve ever grown my hair is probably until it reached the top of my butt haha. I love having long hair and I’ve always gotten compliments on how healthy and shiny it looks.

For the past two years, I’ve been using OGX Renewing Moroccan Argan Oil and its complementary conditioner, the OGX Renewing Moroccan Argan Oil Conditioner. I love these two together because it leaves my hair feeling soft, smooth, and tangle-free.

The shampoo and conditioner are both sulfate free, which means it won’t over strip your hair of its natural oils and if your hair is colored, it helps keep the color for longer.

My hair tends to get oily on the second day after washing it so my routine is to wash my hair every other day.

Before washing my hair, I always spend about two minutes massaging my scalp with the pads of my finger tips. Not only does this feel relaxing, it also loosens up any dirt or debris on your scalp, gives you a deeper clean when shampooing, and helps stimulate hair growth.

giphy (10).gif

After massaging, I thoroughly wet my hair and rub about a little more than a quarter sized amount of shampoo into my hands. Then, I spread the shampoo as evenly as possible all over my scalp. You want to focus on massaging the shampoo into your scalp rather than the ends of your hair because the ends will get cleaned when you rinse the shampoo out. What I like to do is massage the shampoo into my scalp and then run the shampoo suds into the ends of my hair. My rule is to always concentrate shampoo on the oiliest part of your head!

giphy (11).gif

I make sure to rinse all the shampoo out then move onto conditioner. I take roughly a little more conditioner than I do shampoo and I also rub that between my hands before putting it into my hair. Conditioner is meant to detangle and hydrate your hair so, I like to focus that on the ends of my hair and work my way up to the middle. I work the conditioner into the ends of my hair and I take whatever is left and spread it onto my roots. Then, I leave the conditioner in for about 3 minutes before washing it out.

giphy (12).gif

I find that using a blow dryer really dries out my hair so I always prefer towel drying my hair instead. After washing, instead of rubbing my hair in between the towel, I like to wrap my head in a towel and let it soak up as much water as it can for about 20 minutes.

IMG_0876.jpg

When the 20 minutes are up, I take the towel off and shake my head, just to get some air flowing between my strands. My favorite part is adding a nickel sized amount of OGX Penetrating Moroccan Argan Oil into the ends of my damp hair. I rub this between my hands before working it into my ends and up to the middle of my hair. I mostly use this because it leaves my hair soft and shiny. And in case I do decide to style my hair with heating tools, the oil protects it from heat as well.

giphy (13).gif

Finally, I wait for my hair to air dry and I’m done!

So, to recap:

  1. Wash your hair sparingly, preferably when it’s at its oiliest.

  2. Use a sulfate-free shampoo and conditioner to protect color treated hair and to keep hair from becoming overly dry.

  3. Massage your scalp for about two minutes before washing. This stimulates hair growth by increasing blood circulation into your hair follicles.

  4. Thoroughly wet your hair and take about a quarter-sized amount of shampoo and massage it into your scalp only. This prevents your ends from drying out. You can run the shampoo suds down to your ends to further clean them before rinsing.

  5. Rinse out the shampoo and apply roughly a little more than a quarter-sized amount of conditioner into your ends and work your way up into the middle of your hair. Spread the remaining onto your roots.

  6. Rinse out the conditioner and wrap your hair in a towel for about 20 minutes.

  7. Shake your hair to dry it a little more and add a nickel sized amount of hair oil from you ends and up to the middle of the hair.

  8. Wait for your hair to dry and your done!

TIPS:

  • Over washing your hair will make it dry and brittle!  Wash it when you notice that your hair is getting noticeably oily and greasy.
  • Try to avoid using heat on your hair wherever possible. If you can air dry your hair, then do it!
  • When you are using heat on your hair, be sure to use any type of heat protectant.
  • Split-ends can’t be fixed no matter what those split-end mending products tell you. If your hair is in need of a dire trim, cut it!  Your hair will look a lot healthier.
  • I noticed that when women are shampooing their hair in movies or shows, they ALWAYS plop all of their hair onto their heads and wash it in circular motions. This is completely horrible for your hair because it creates so many unnecessary tangles.

Aztec Secret Indian Healing Clay Face Mask

I picked up this gem back in June at a local Whole Foods and I’ve been loving it ever since. After using this as a mask once a week for a month and following up with my daily skin care routine, my skin felt a lot smoother and my pores appeared less clogged.

The Aztec Secret Indian Healing Clay is said to purge pores of impurities and dirt. It is made from 100% natural calcium bentonite clay and it has a number of uses; facials, acne, body wraps, clay baths, foot soaks, chilled clay for knee packs and insect bites.

After applying the mask to your face, you’ll feel your skin start to pulsate as the mask dries. I find this really cool because I have never encountered a product that does this.

This mask also leaves your skin slightly red and that’s normal! The redness should disappear in about 30 mins.

HOW TO USE IT

img_0714

The instructions suggest using water or apple cider vinegar to mix with the clay. I recommend using organic apple cider vinegar because of its beneficial properties.

Organic apple cider vinegar helps to:

  • fight acne
  • reduce fine lines and wrinkles
  • draw out toxins from the skin
  • reduce age spots

img_0720

The mask mixture consists of one part clay and one part organic apple cider vinegar. I found that one teaspoon of each is sufficient enough to cover the entire face without wastage.

Make sure you use non-metal items when mixing the two because the clay can lose its effectiveness from absorbing the toxins from metal instead of from your skin.

I am using a glass bowl and a plastic 1/2 teaspoon measuring tool to mix the clay and organic apple cider vinegar. I am also using a concealer brush to apply the mixture while carefully making sure not to touch the mixture with the ferrule.

1. First, measure out 1 tsp of clay and 1 tsp of organic apple cider vinegar.

giphy (1).gifgiphy (2).gif

2. Then, with the measuring tool, mix the components until it forms into a smooth paste.

giphy (4).gif

3. Apply the mixture in a thin even layer with a concealer brush. Avoid touching the mixture with the ferrule of the brush.

giphy.gif

4.  Next, wait until the mask is completely dry. After about 10 to 15 mins, this is what the mask should look like.

img_0729

img_0730img_0732

img_0733

5. Wash off the mask by using warm water and circular motions. You can use a wash cloth to help easily dissolve the mask. This is what your face should look like.

img_0735img_0738

6. Follow up with your normal skin care routine and you’re all done!

If you find that you have a few pimples the next day after using the mask, don’t worry! After reading a bunch of reviews, this has happened to a lot of people and it’s just the mask doing its job. Use this mask once a week and your face should clear up in no time!

And of course, if your skin gets irritated from the mask, don’t use it again! For more information about the product, click here.